

OK, so you’ve found a room to shoot your Christmas card portrait in, you dug out some decorations to help give a festive feel and everyone has outfits selected. Now it’s time to figure out what to do with the photographic equipment you’ve also rounded up. If you’ve been following along since the beginning of this series you know that you need, obviously, a camera as well as a tripod, at least two additional flashes and some white poster board. You may look at this odd pile of things and know what to do with it or you may look at it and say “huh?” Either way; follow along and see how you’ll make use of everything.
Your Camera
Let’s start with your camera first since you likely already had it and are somewhat familiar with it. While saying this as a photographer makes me cringe to some degree, it’s best for a “make do” situation with so many variables; you’ll want to use an automated setting on your camera and let it do a lot of the thinking. If your camera has a “Program” or “P” setting, use it because it should allow for some tweaking during the shoot. If it doesn’t have that setting, look for “Auto,” a “green” setting, “Easy” or a “Portrait” scene mode. With that done, the rest is fairly straightforward:
- Make sure the flash is turned on in the camera’s menu and open it if it conceals when not in use.
- If you have a flashgun that works with your camera attach it instead and set it to whatever you need to for automatic operation with the camera (the setting will usually have “TTL” in it somehow). If it has the feature, tilt the head up toward the ceiling and tape or rubber band an index card or white paper to the back of the top extending upward.
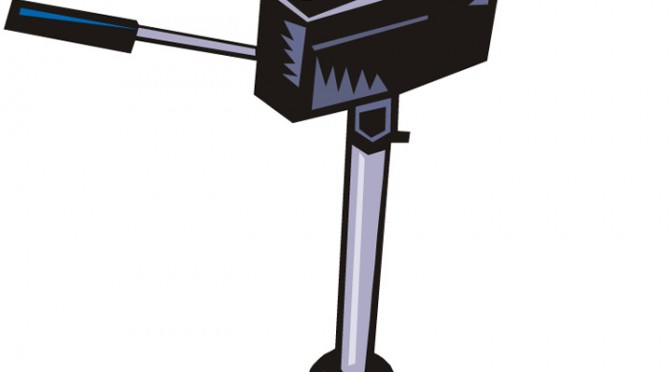
- Mount the camera on your tripod – don’t worry about adjusting it yet – we’ll cover that later.
- Place the tripod about six feet in front of where the family will be posing.
- If you have a wired remote for the camera attach it now. If you have a wireless remote keep it nearby.
See? Not so bad so far!
Your Extra Lighting
As suggested at the very beginning of this series, you’ll need at least two inexpensive slave flashes that trigger from the camera’s flash or two flashguns of nearly any type with inexpensive slave trigger attachments to get a little closer to portrait lighting than your camera’s flash can do.
If you are using the inexpensive, simple slave flashes, chances are all you need to do is put batteries in them and turn them on. Most don’t have any settings, but read the instructions that came with them.
If you are using random flashguns with slave triggers attached you may have settings to deal with. Don’t choose anything with “TTL” in it as that relies on the camera the flash was intended for. “Auto” generally uses a built-in meter to set the power for the flash. Manual or fractional power settings will work too. Start with full power and you can always work down to lower powers if you’re overexposing.
Once you figure out the flashes you’re working with, it’s time to place them:
- Place flash one on the floor or a small table that will be concealed by the family between where the family will be posed and the background behind them.
- Put flash one on its back with the flash window and the eye that senses the other flashes to trigger it facing upward.
- Point flash one’s base toward the background and tape or rubber band an index card or white paper to what would be the top of the unit, pointing toward the ceiling. Make the paper fan-shaped – wider at the top – if possible.
- Place flash two about four to six feet from the where the family will be and about 45 degrees from the camera position either to the left or right of the family as you are facing where they’ll be.
- The side you choose should be the better side of the scene and you’ll want the family to face slightly toward that side.
- Try to get flash two at average face height of the family. Place or attach it with tape to a ladder or floor lamp or get someone not in the shot to hold it for you.
Your White Poster Board – The Mystery Item
The white poster board will help to light the darker side – the one opposite of flash two – of the shot to reduce shadows by reflecting light that scatters back at the scene. White poster board is our friend in the 123Print photo studio.
- Hang the poster board just out of the shot (you can adjust placement when you are posing and composing the shot) on the side opposite the one with flash two.
- Try to place the poster board 90 degrees (or perpendicular to use a junior high math word) to the front of family.
- You can hang the poster board on the wall, from something like a ladder or floor lamp, or have someone not in the shot hold it for you – just try to keep it so that most faces line up with the middle of it.
- If possible hang a few sheets side by side and or above and below each other to maximize the reflective surface.
Well, that’s about it for equipment until we talk about posing, composing and adjusting the shot for your photo Christmas cards, which will be in the next installment. Go play with your gear and try not to look into the flashes when they’re going off too much!
Hi and thanks for finding the time to describe the terminlogy towards the newbies!
Excellent content and easy to understand story. How do I go about getting agreement to post part of the article in my upcoming newsletter? Offering proper credit to you the writer and website link to the site will not be a problem.
Hi there, You’ve done a fantastic job. I’ll certainly digg it and personally recommend to my friends. I am sure they will be benefited from this site.